
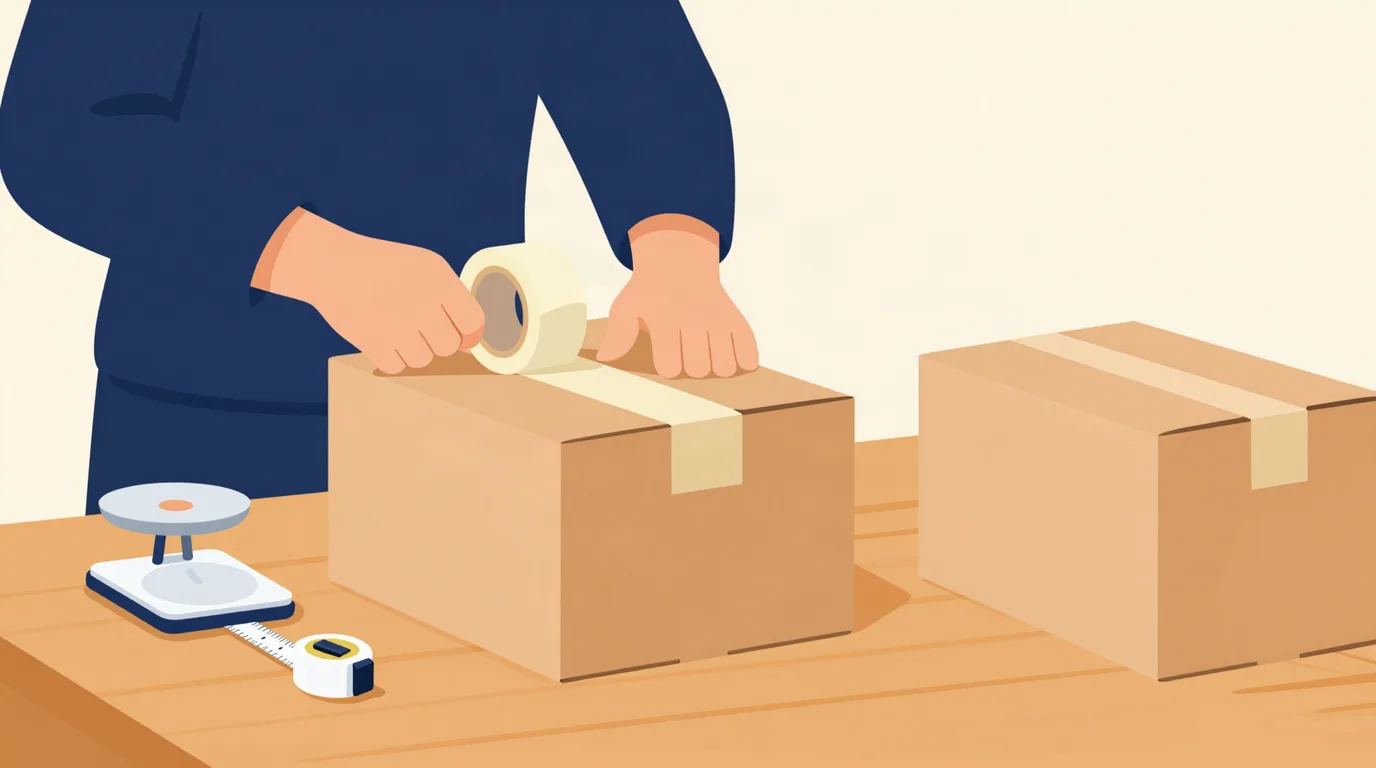
To ship a package in Canada: pack it in a sturdy box, weigh and measure it once it is sealed, write complete addresses with the postal code, compare carriers and services for your lane, buy and print the label, then drop the parcel off or book a pickup. The price mostly depends on weight, dimensions, distance and how fast you need it there.
1. Pack the parcel
Use a rigid box in good condition, only slightly bigger than what goes in it. Pad the item so it does not move when you shake the box, then tape every seam with packing tape. Remove or cover old labels and barcodes: a readable old barcode can send the parcel to the wrong place.
For clothing and other soft goods, a padded mailer or poly bag is often enough, and it takes up less space than a box.
2. Weigh and measure
Weigh the whole parcel, packaging included, and measure the length, width and height of the sealed box at its widest point. Both matter: carriers bill the higher of the actual weight or the dimensional weight, which is calculated from the dimensions. So a light but bulky box can cost more than you expect.
Accurate numbers at the quote step prevent adjustment charges later, when the carrier re-measures the parcel.
3. Get the addresses right
- The recipient’s full name, plus the company name for a business delivery.
- The complete street address, including the unit or suite number.
- The exact postal code: it sets the zone, and therefore the price and the services available.
- A phone number, which helps the driver if there is an access problem.
- Your own return address, in case the parcel cannot be delivered.
If the recipient uses a PO box, check first that the carrier you pick delivers to one: not all of them do.
4. Choose the carrier and the service
The same parcel can cost very different amounts from one carrier to the next, and from one service to another at the same carrier. An economy service usually costs less but takes longer; an express service arrives sooner but costs more. No carrier is the cheapest on every lane.
| Factor | Why it matters | What to do |
|---|---|---|
| Weight and dimensions | The higher of actual or dimensional weight is billed | Use the smallest box that fits |
| Distance (postal codes) | Sets the pricing zone | Enter exact postal codes at the quote |
| Service speed | Faster usually costs more | Pick by the date you actually need |
| Options | Insurance, signature and pickup can add cost | Add only what you need |
| Surcharges | Fuel, remote area, residential delivery | Compare the total price, not the base rate |
Rates, surcharges and transit times change often and vary by lane. Nothing in this guide is a price or a carrier commitment: confirm the total price and the expected date at the quote step, for your parcel.
5. Print the label and hand the parcel over
Once you have picked and paid for the service, print the label and stick it flat on the largest side of the box, with no tape over the barcode. A regular printer works; a thermal printer is handy if you ship often.
Then drop the parcel off at one of the chosen carrier’s locations, or book a pickup if the carrier offers one at your address. Keep the tracking number: it is how you follow the parcel and how you file a claim if you need to.
What about shipping outside Canada?
The steps are the same, with one more: the customs declaration. You describe each item, its value, its country of origin and, for a commercial shipment, often its HS code. The recipient may owe duties and taxes on arrival, depending on the country and the goods.
With MesColis, you compare the carriers and services that serve your lane side by side, in Canada and internationally, with the total price for your parcel. You can get a quote without an account, then buy the label, add insurance, schedule a pickup where one is offered and track the shipment in one place.
Free MesColis account, no contract and no minimum volume: compare the carriers that serve your lane before you buy the label.